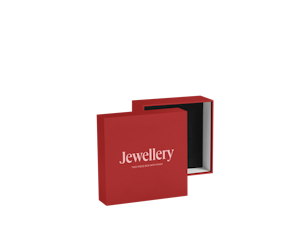
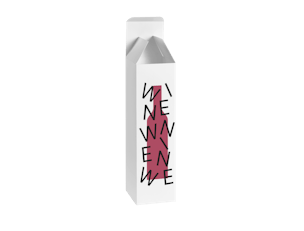
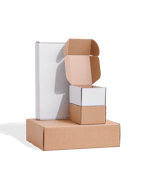
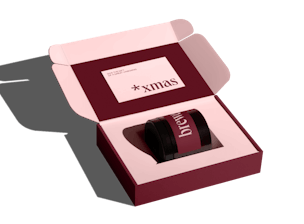
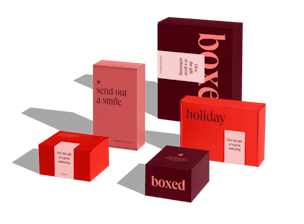
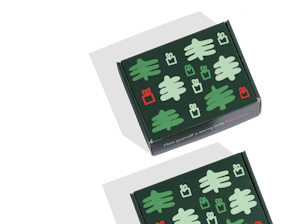
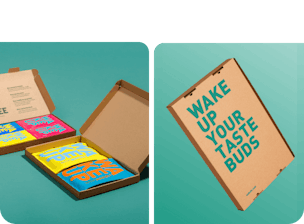
Full Color Mailer Boxes require certain types of CMYK colours in your graphic designs. Black elements should be prepared in CMYK 0%0%0%100%, whilst gray in CMYK 0%0%0%85% (depending on the grey shade used in your design). This requirement is connected with the printing technique we use for Full Color Mailer Boxes.

Best practices
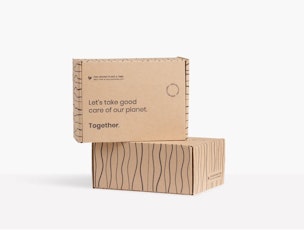
Eco and Eco White Mailer Boxes are solutions dedicated for minimalist designs, with black ink working as an addition. If you wish to have a bigger design in black ink, we recommend choosing Eco Color Mailer Boxes. Thanks to the whitened cardboard, they allow for more detailed imprint, whilst the paint is not absorbed by the carton.
By choosing Eco Color Mailer Boxes you will avoid cardboard clearances in the imprint.
In case of Eco and Eco White finish, we only print in black. The shade of black that we recommend is CMYK 100%100%100%100%. Accordingly to your capabilities, we also recommend to use vector elements in your design. They facilitate the print process. If you want to order boxes with a white imprint, please contact us.
Saving your PDF file in the PDF/X-1a:2001 present guarantees better compatibility with our automated production process.
In the case of Eco and Eco White printing variants, the only colour that is printed is black. The white colour will not be printed. If you want to order boxes with a white imprint, please contact us.
In print, the colours of the CMYK space consist of four colours applied separately. Small-sized elements can be printed out of focus. Large elements give the best results.
It’s crucial that the minimum height of the text is 8 points. Otherwise, it might not be possible to read.
Please keep a safe distance from the edge of a wall both in the box editor and in your graphics software. Remember not to place any important elements close to the edges.
Each project is carried out with the utmost care, but at every stage of production there is a margin of error within which the boxes can move. This means that the elements close to the edge of the wall may partially enter another wall or they become invisible after bending it.
Please also keep in mind, that due to paper drifts, all elements may be shifted by about 5mm from the project.
If you create tailor-made graphics for the box editor and you want them to occupy the entire surface of a wall, add at least a 10 mm margin (the so-called bleed) on each side. This will help you avoid potential shifts of the box during the production processes which might make the edges of your graphics visible on the wall.
In some cases, you might need to include bleeds in the internal side of the diecut template. It might be required in the space where the wings are placed (although they are not visible after the box is assembled). In this situation, we include a bleed in the graphic design of the visible walls.
If your graphics are too small in the box editor, the simple enlargement (extension) in the Photoshop software will make them lose their quality. Your graphics software will have to “think up” the additional pixels, which will not be able to correspond to the actual contents of the graphics.
Only vector designs can be freely enlarged.
Remember that the preferred print resolution is 300 dpi.
PDF, SVG and PNG files usually guarantee higher quality of graphics than JPEG files, which might often be compressed.
Unfortunately, the box editor does not support the uploading of your own fonts. If you want to use your favourite one that we do not have, create your graphics with the text you wish to place on the box and save it in a PNG, SVG, PDF or JPEG format.


